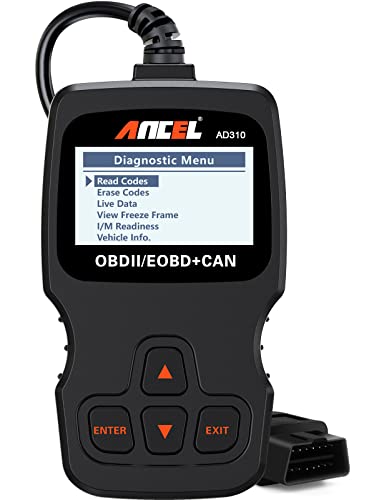
You plug in your OBD2 scanner, but nothing happens. The scanner stays dark or shows “connection error.” This is a common frustration for car owners. Usually, the problem is simple: a blown fuse, a bad pin, or a wiring issue. In this guide, you’ll learn how to test your OBD2 port and fix the most common problems yourself.
Check the Obvious First
Before you start digging into wires, do a quick visual check. Look at the OBD2 port, usually located under the dashboard on the driver’s side. Make sure no debris, corrosion, or bent pins are blocking it. Also, confirm that your scanner is working by testing it on another vehicle if possible. If it works elsewhere, the port is your problem.
Understand the OBD2 Pinout
The OBD2 connector has 16 pins in a specific layout. You only need a few for basic communication. Pin 4 is chassis ground, pin 5 is signal ground, pin 16 is battery positive power (12V), and pins 6 and 14 are for CAN bus high and low. Other pins are used by some manufacturers, but these are the critical ones for power and communication.
- Pin 4: Chassis ground
- Pin 5: Signal ground
- Pin 6: CAN high (optional)
- Pin 14: CAN low (optional)
- Pin 16: Battery power
Test Power and Ground
Get a digital multimeter and set it to DC voltage. Touch the red probe to pin 16 and the black probe to pin 4 or 5. You should read around 12.6 volts (engine off) or more. If you get zero or low voltage, there’s a power issue. Next, test the ground circuits by checking continuity or resistance between the ground pins and a known good metal point on the car’s body. If you have power and ground, but the scanner still won’t connect, move on to testing the data pins.
Check for Blown Fuses
A blown fuse is the most common reason for no power at the OBD2 port. Look under the dashboard or under the hood for the fuse box. The fuse that protects the OBD2 port is often labeled “CIG LIGHTER,” “ACC,” or “OBD.” Use the diagram on the fuse box cover or in your owner’s manual to locate it. Pull the fuse and check the metal strip inside. If it’s broken, replace it with the same amperage. Also, check the fuse for the cigarette lighter, as many cars share this circuit.
Inspect the Wiring and Connectors
If fuses are fine, inspect the wiring harness leading to the OBD2 connector. Look for cuts, frayed wires, or loose connections. Sometimes, a wire can break inside the insulation, especially where the harness bends. Use a multimeter to test for continuity between the OBD2 port and the ECU connector if you have wiring diagrams. Also, check the connector itself for pushed-out or damaged pins. Use a small pick to gently bend any bent pins back into place.
When to Call a Professional
If you’ve checked power, ground, fuses, and wiring, but the port still doesn’t work, the problem might be in the ECU or the CAN bus system. Testing those requires specialized equipment and knowledge. At that point, it’s best to have a professional technician diagnose the issue. They can perform a more detailed scan and use wiring diagrams to trace the exact fault.
Remember that safety comes first. Always disconnect the battery before working on electrical components, and never probe wires while they’re connected to power. With these steps, you can fix many OBD2 port issues yourself and save money on diagnostics.
Frequently Asked Questions
Why is my OBD2 scanner not connecting?
Common causes include a blown fuse, no power at pin 16, poor ground, or a damaged connector. Check the fuses first, then test for 12 volts between pin 16 and pin 4 or 5.
Which OBD2 pins are used for power?
Pin 16 is battery positive power, and pins 4 and 5 are grounds. You need both power and ground for the scanner to turn on.
Can a bad OBD2 fuse cause a check engine light?
Usually not directly. A blown OBD2 fuse only affects the diagnostic port, not engine operation. However, if the fuse also powers other components, they may cause a check engine light.